Gara and Jonay became Garajonay.
This beautiful circular walk on La Gomera takes you from Chipude to the striking rock plateau of Fortaleza. From there you continue to the roof of the island.
Map
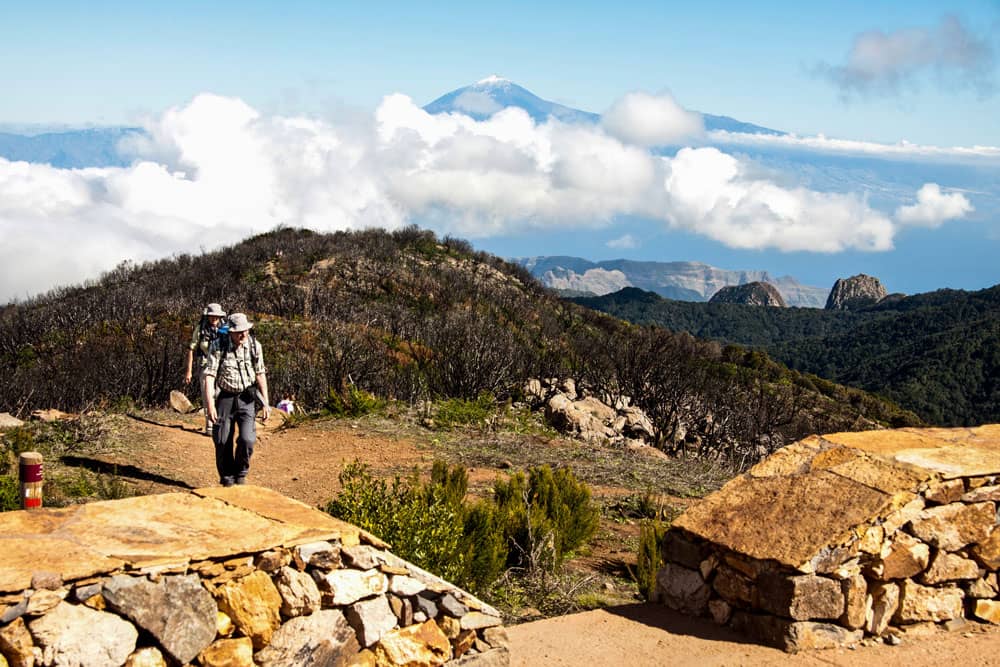
Garajonay with Teide view
The Garajonay is with its 1.487 meters of altitude the highest elevation on La Gomera. From there you will have a fantastic view over the whole island to the neighbouring islands.
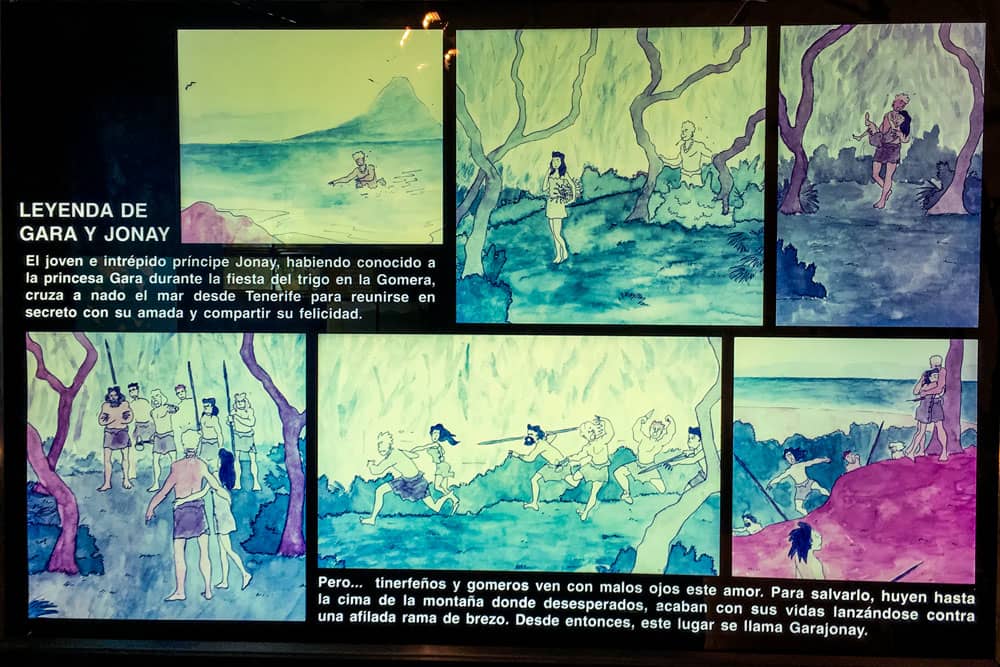
The legend about Gara and Jonay
The summit of La Gomeras owes its name to the legend of Gara and Jonay. A prince of La Gomera named Jonay fell in love with the beautiful Gara of Tenerife. He even swam through the sea so that they could reunite. But this love was a thorn in the side of their people. The lovers were persecuted and fled to the mountains of La Gomera. There they were pierced by an arrow on top of the mountain. Tragically the legend. What has remained is the place named after the unhappy lovers Garajonay.
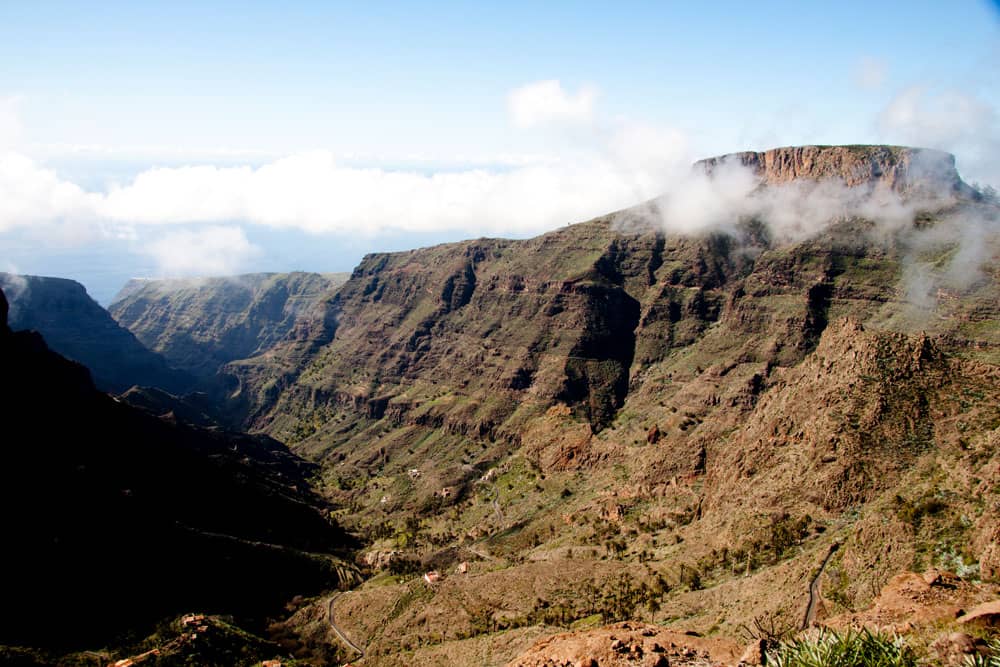
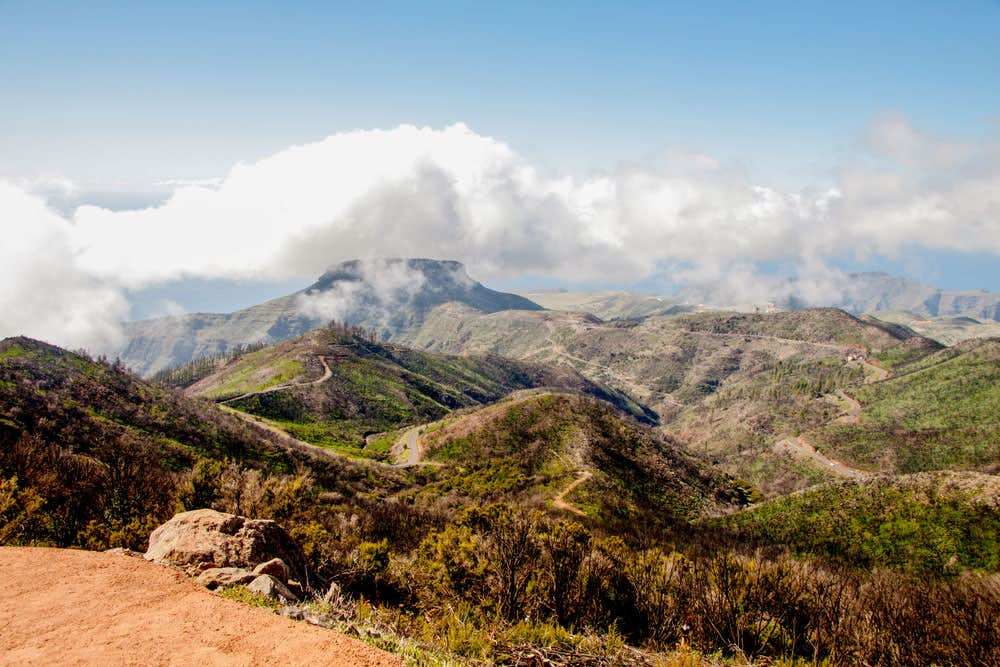
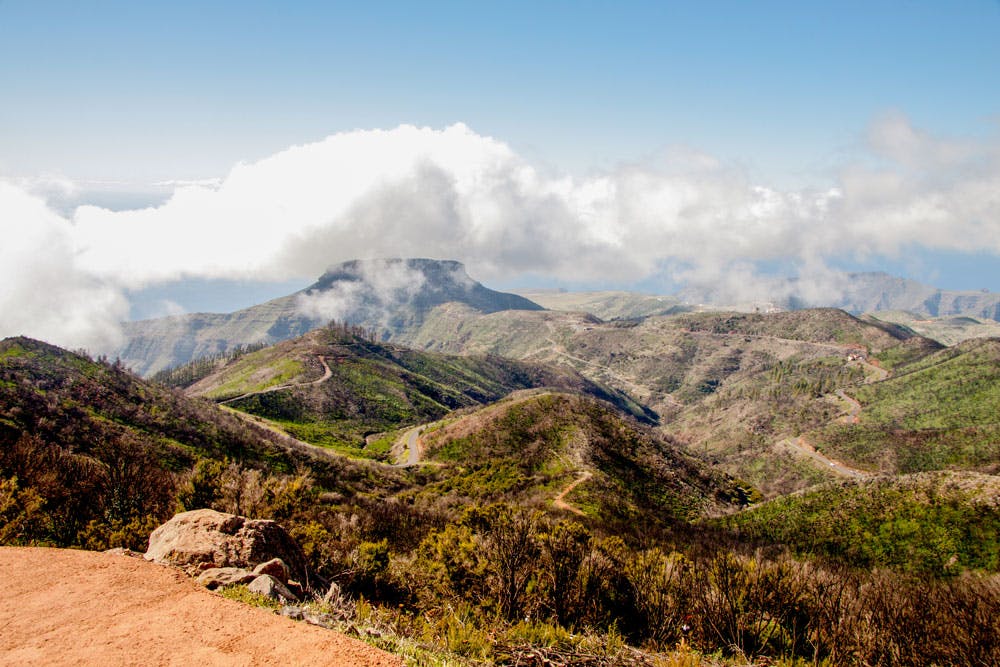
clouds around Fortaleza
Fortaleza – place of ritual and escape
Not as high as the Garajonay, but at least as impressive is the 1.243 height meters high Fortaleza. You have to scramble a little to climb it. But the ascent to the plateau is rewarded by magnificent views in all directions. In ancient times the Fortaleza was known as „Argodei“ by the natives of La Gomera. The natives of the island regarded the mountains as sacred. From there they communicated with their gods. Thus the Fortaleza was also used over centuries for ceremonies and religious rites.
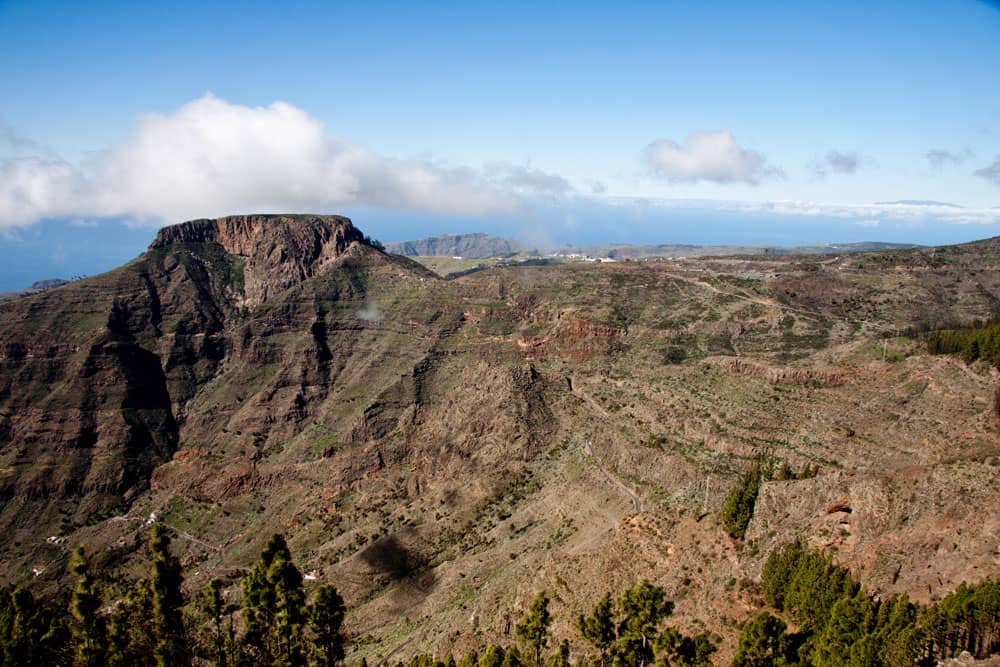
Fortaleza
Archaeologists have found secret chambers with altars (Pireos) and remains of animal bones on Fortaleza. In later times, Fortaleza is said to have served the inhabitants of nearby villages as a refuge from all kinds of danger. If you want to know more about the aborigines and their rites and customs, you can find a lot of information in the National Park Centre of La Gomera in Laguna Grande. You can also find information boards along the trail from time to time. On the illustrated boards there are many interesting things to learn about La Gomera and its inhabitants.

Track from Chipude to Fortaleza and Garajonay
General information about the circular walk Fortaleza and Garajonay
Starting point and approach
Chipude church square at 1080 metres above sea level
Arrival by car
You drive on the big island road GM-2. From there the turn-off to Chipude via CV-15 and CV-18 is well signposted. In this small village you can’t miss the church square. The address for the navigator is: La Plaza, Chipude, 38869 La Gomera. There is enough space for parking at the square itself and in the streets of Chipude.
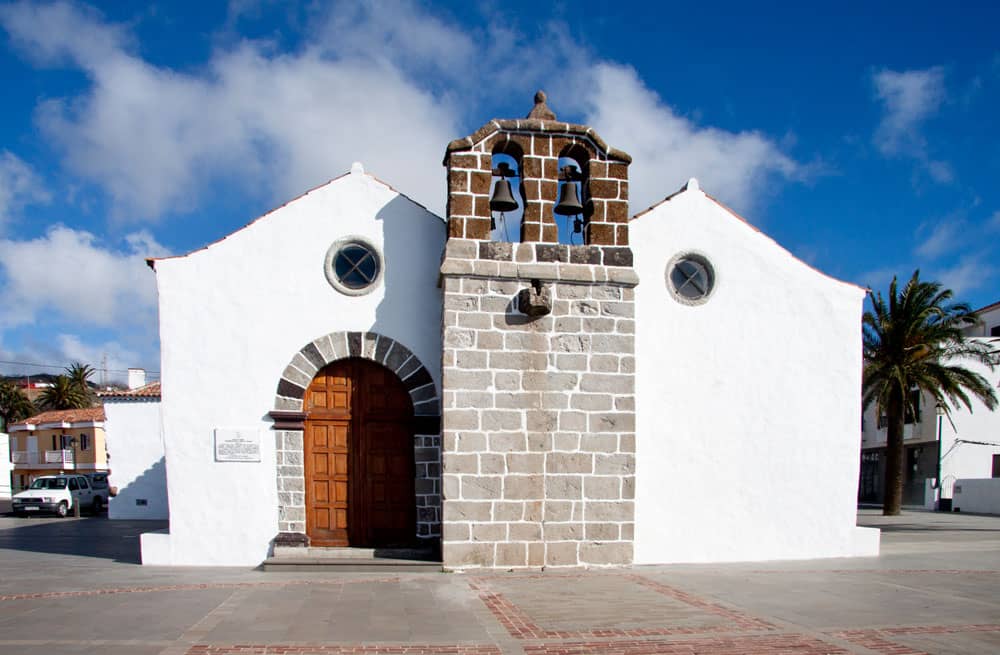
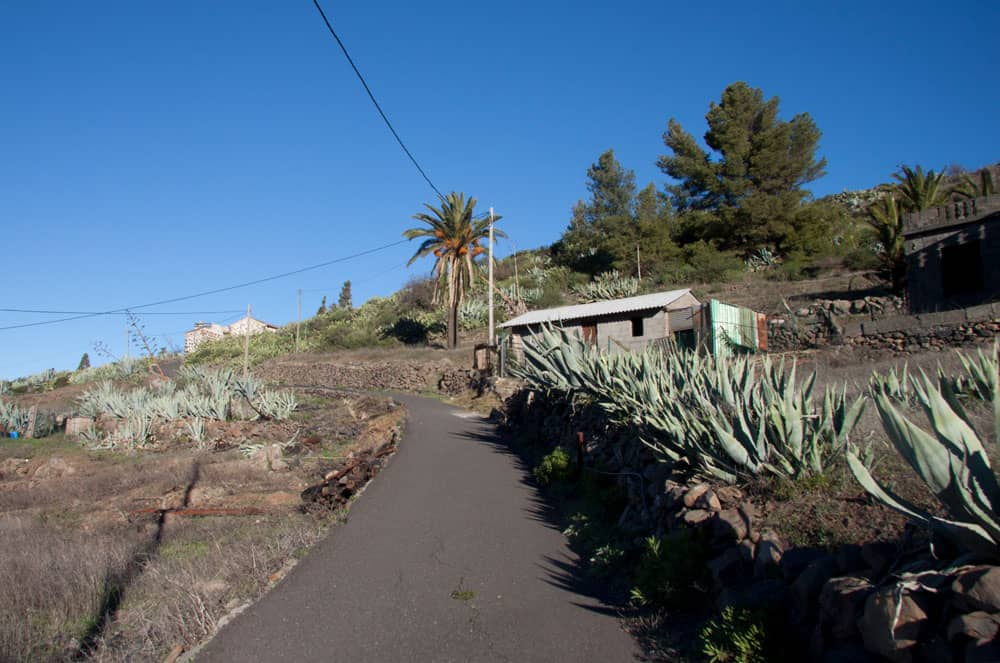
chapel in Chipude
Arrival by bus
In Chipude the bus lines 1, 4 and 6 stop. You can find more information on the homepage Guagua Gomera. Time
I don’t like to give general time information for hiking tours, because the times are very individual. For this tour I needed almost exactly 6 hours with longer stays on the Fortaleza, the Mirador of Igualero and the Garajonay. The pure walking time was about 5 hours.

elevation profile hike Chipude - Fortaleza - Garajonay
Difference in altitude and distance
It is about 200 meters from Chipude to Fortaleza. From Chipude without Fortaleza are about 400 meters altitude difference to Garajonay. But through descents and ascents on the entire tour a total of 915 meters of altitude have to be mastered. The route is about 15 kilometres long.
Article summary and large selection of GPS hiking tracks
Sign up for my newsletter now and get exclusive access to my collected GPS tracks as well as all the brief information about my articles.
Sign up nowRequirement
The hike is altogether seen quite long and goes over many height meters, so that already a little condition is necessary. Especially the ascent to the Fortaleza is a bit scrambly in some places and requires a little climbing skill. For the Fortaleza you definitely need surefootedness and a head for heights. Therefore the Rother hiking guide classifies this tour as a black tour. It should not be walked in wet conditions (danger of slipping) or in storms. But the rest of the round tour is very good to walk on beautiful simple hiking trails. It is therefore to be classified as easy. Basically it is a comfortable and easy hike on well marked hiking routes.
Refreshment
There are restaurants and bars in Chipude and Pavón near the start and end point. Therefore, please take enough water and food with you.

Refreshment Bar Candelaria
Variants
This tour can be shortened by doing without the ascent to Fortaleza. Then it is altogether less strenuous and can be classified as easy. Of course, it is also possible to climb only the Fortaleza. This alone is worth it for those who want a little thrill and adventure.
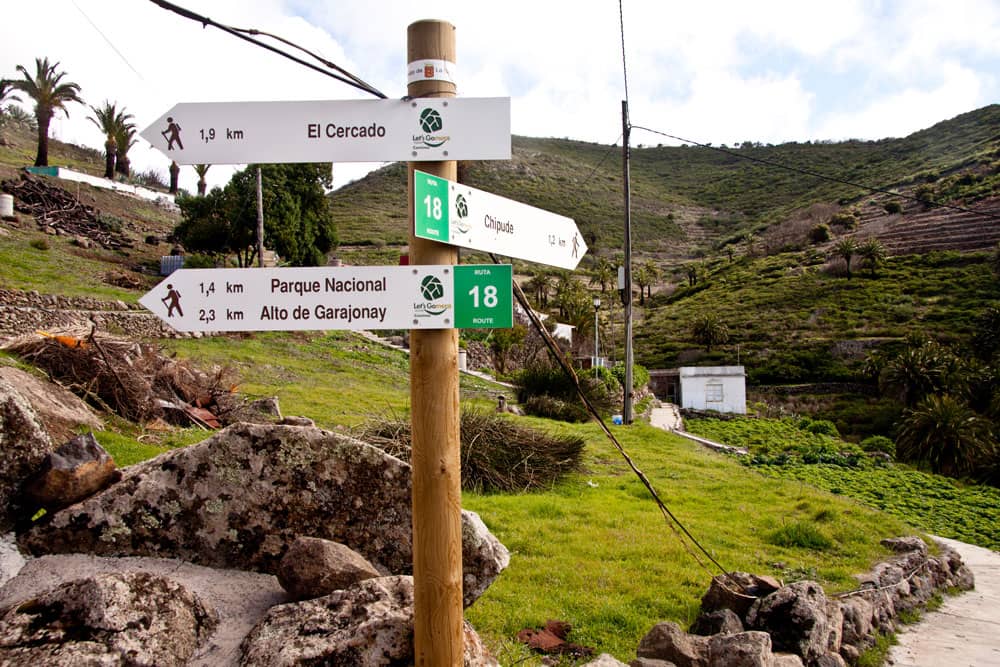
Hiking path 18 from Chipude to the Garajonay
Alternatives to get to the Garajonay
Those who want to see the „roof“ of L Gomera, but do not want to hike so much, can also park at the national park centre in Laguna Grande at the GM-2. From there, the summit is easy to climb. This tour can be easily done in two to three hours. It is well signposted and leads many visitors daily to the high plateau on wide hiking trails with a height increase of a good 200 metres. Another and even shorter possibility to reach the Garajonay is to take the bus to Igualero. From there you can climb to the top of Garajonay in about half an hour.
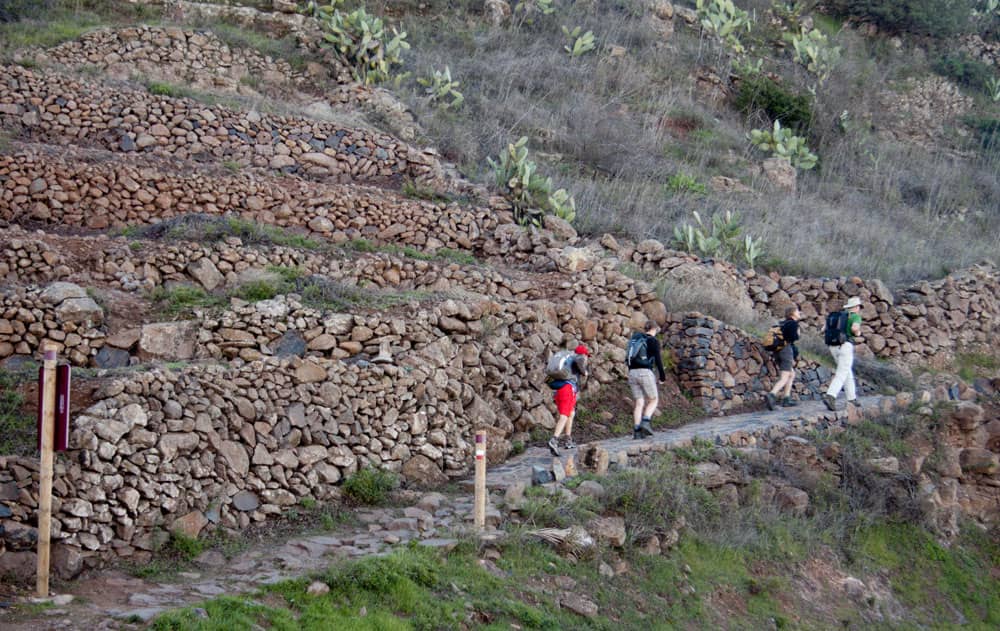
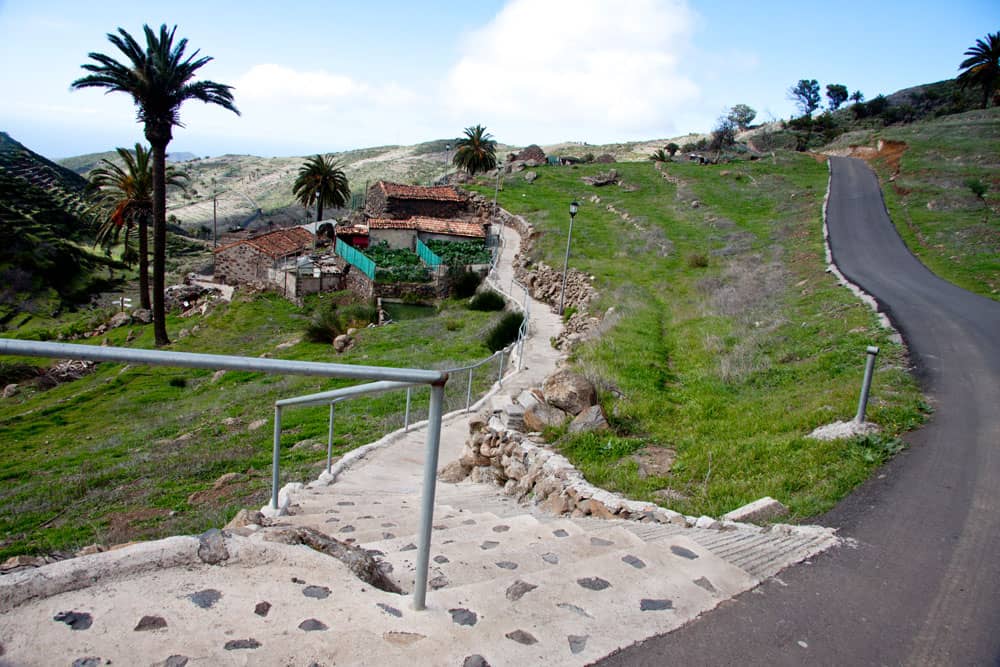
Hikers on the paved hiking trail near Chipude
Circular hike from Chipude via Fortaleza and Garajonay
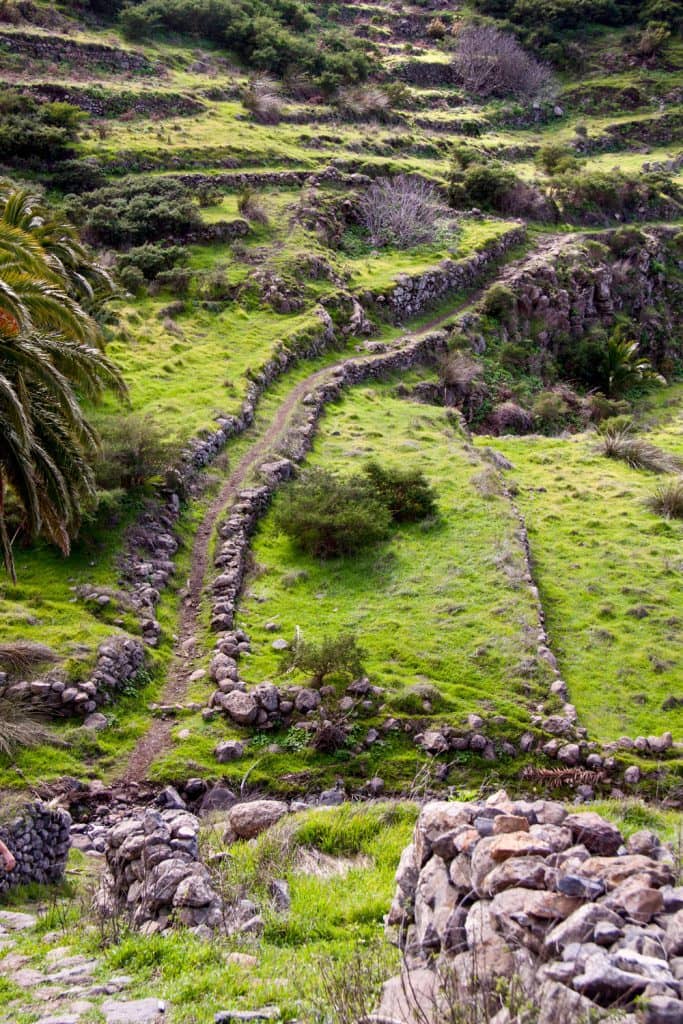
Section from Chipude to Pavón
You will start the hike in the centre of the village on the large square near the church in Chipude. Already from here the striking rock massif of the Fortaleza of Chipude cannot be overlooked. This is the direction of the GR 131 trail, initially marked in white and red, which is part of the great itinerary that crosses the island of La Gomera. From Garajonay, you will return along the green and white marked path number 18.
Hiking path near Chipude
The itinerary will take you out of the village along the main Chipude road towards San Sebastian. At a bus shelter, turn right from the main road onto a wide paved path. It goes past some houses and again onto a road that you can follow. If you want to go up and down a little more, you can also follow the signs of the trail. This will shorten you a little and take you through a small Barranco, beautifully landscaped with flowers and shrubs. At the next houses you are in the hamlet of Pavón.
Hikers on their way to the Fortaleza
Section Pavón to Fortaleza
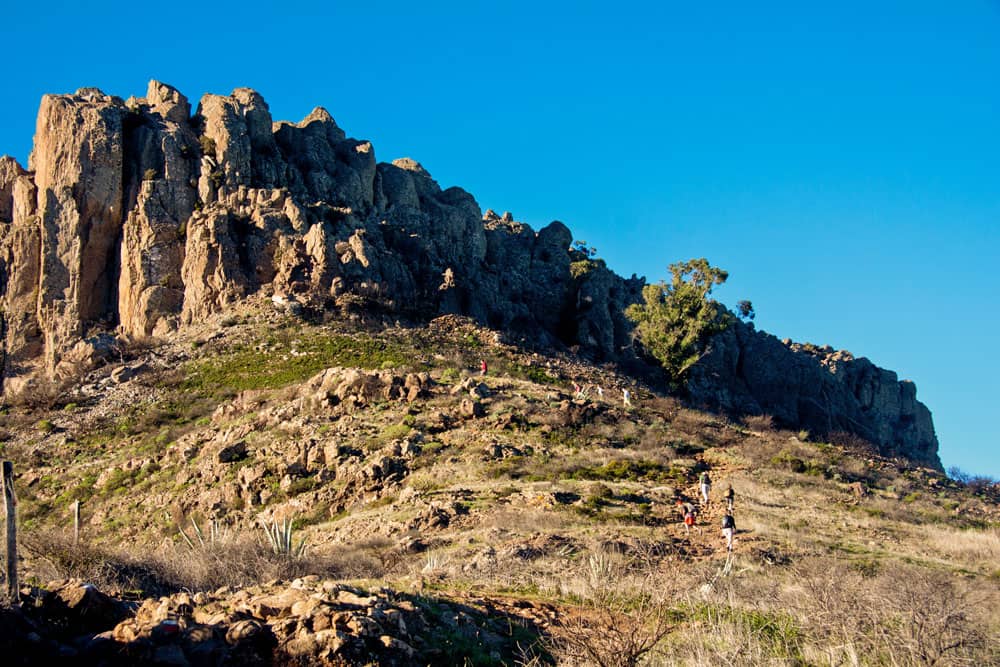
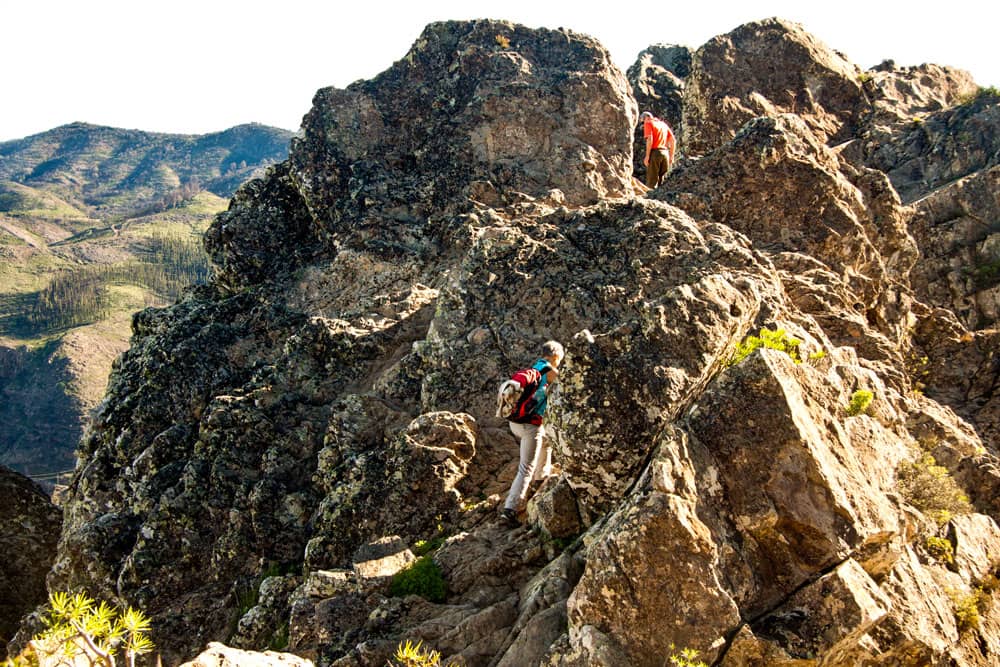
You go on the hiking trail slightly ascending through Pavón. On the saddle in front of Fortaleza (1125 m altitude) the path branches off. On the left the round tour continues to Garajonay. But those who want to climb a little and have an impressive summit should first visit the high plateau of Fortaleza on the right side. After a quarter of an hour ascent in the direction of Fortaleza on the path that gets steeper and steeper, you stand directly at the foot in front of the rocks of Fortaleza.
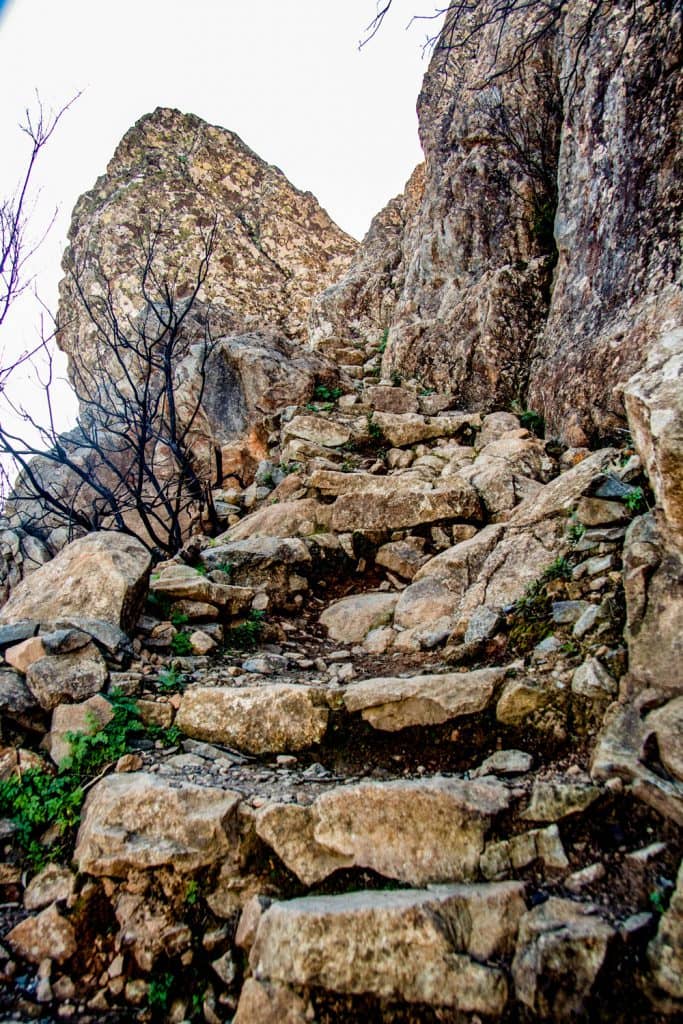
Fortaleza ascent on stone stairs
From now on, the path climbs steeply up the large stone steps with a few scrambles. After a short time, the narrow rock climb leads you to a summit from where you can enjoy wonderful views in all directions. But it continues on the crest height. On a narrow path, which leads you left and right around boulders, you reach further up and onto the summit plateau. Under the mighty white summit cross you can take the first rest. Around the plateau there is a small path from which you can enjoy wonderful views in all directions. From the southern edge you can see down into the mighty Barranco de Erque, over which you will hike later.
on the summit path Fortaleza
When you have seen everything in peace, you will go back to the Fortaleza saddle. There is the junction for the further round trip.
View from the Fortaleza to the neighbour gorges and the clouds
Section Fortaleza over the Barranco de Erque to Igualero
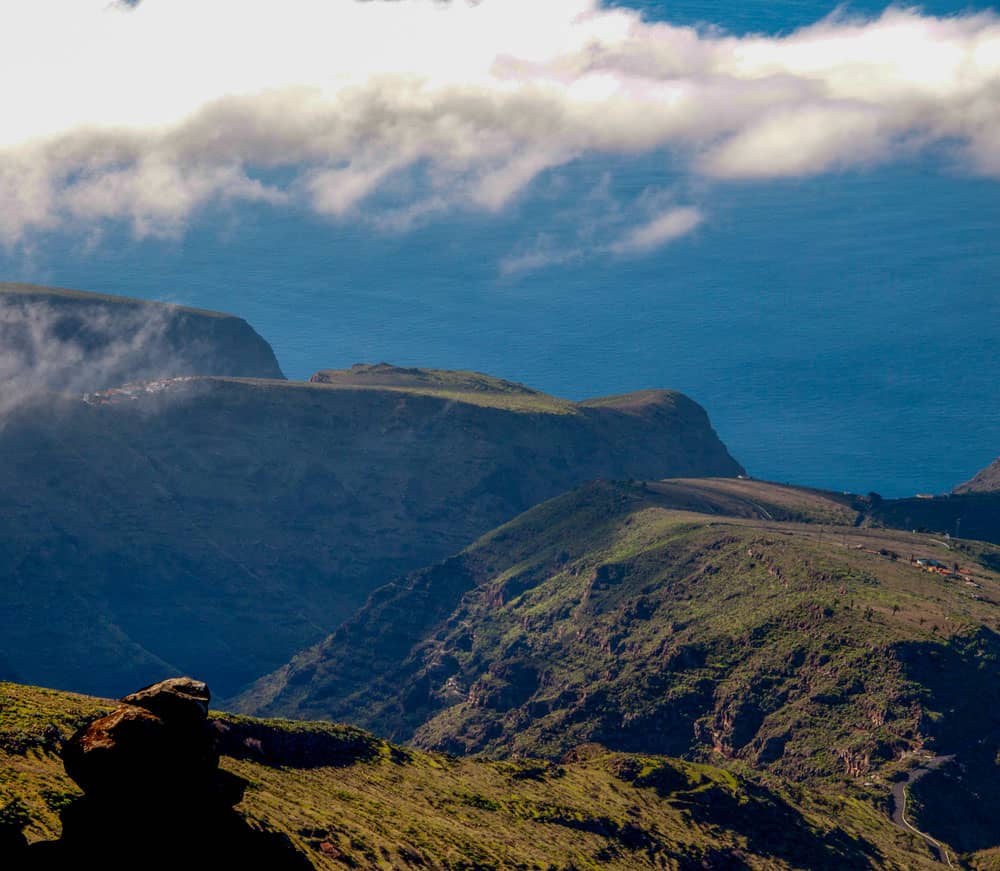
You walk on the GR 131 in the direction of Garajonay. After you have climbed to the next altitude, you are on the road to Erque. On this road you go down to the right. After about a kilometre, turn left off the road onto the path to Garajonay (well signposted). First you follow a wide, beautifully laid out footpath that climbs up over the Barranco de Erque. You can enjoy fantastic views back to the Fortaleza and down to the Barranco de Erque with the village Erque. In the distance, the neighbouring island La Palma can be seen if the view is good. The hiking trail leads past a small waterfall and some high voltage pylons.
Article summary and large selection of GPS hiking tracks
Sign up for my newsletter now and get exclusive access to my collected GPS tracks as well as all the brief information about my articles.
Sign up now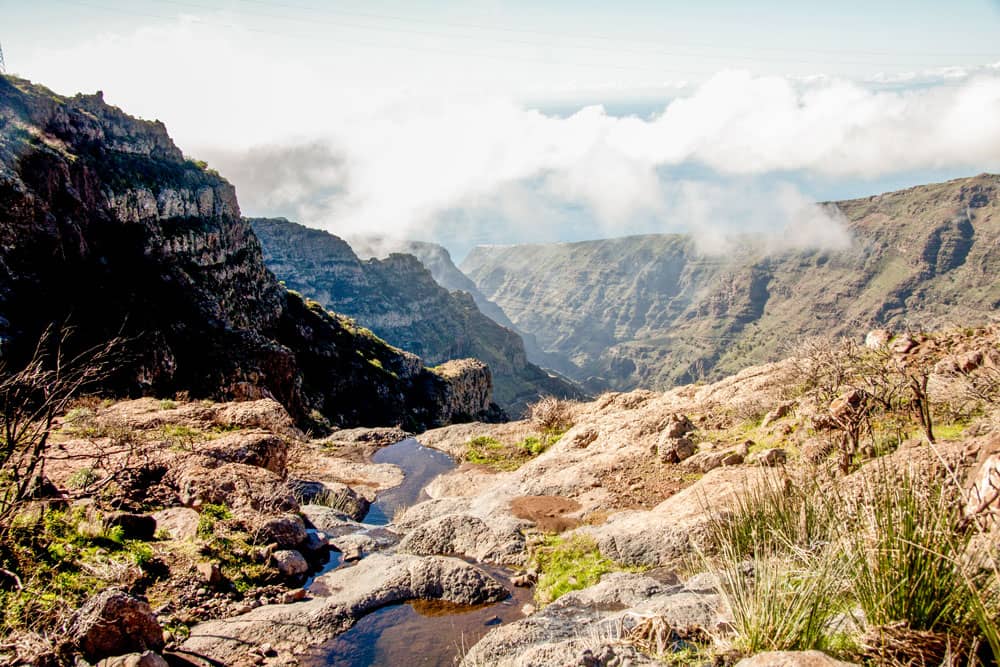
Hiking path through the gorge and over a little watercourse
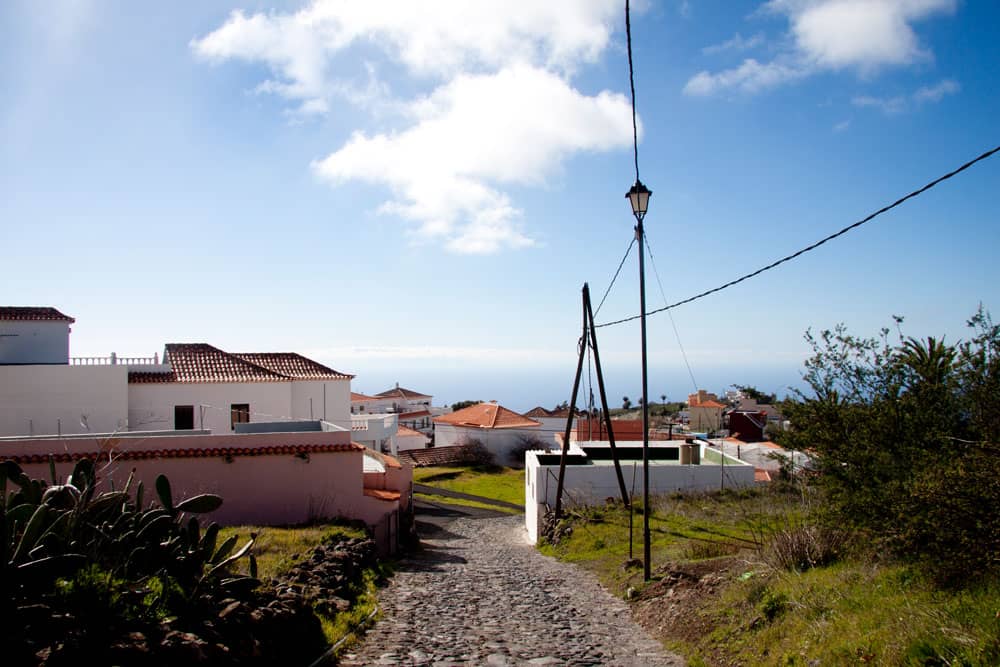
After some time the path becomes steeper and takes you away from the edge of the Barranco to a ridge. On the right a path goes down to La Dama. Turn left and walk towards Garajonay. In less than a quarter of an hour you walk in a few turns over a small Barranco to the village of Igualero. There you pass the church with the church square. The church square is at the same time a big new Mirador with benches and many signs. From here you have again a wonderful view to the Barranco de Erque and the Fortaleza. Then you reach the main road.
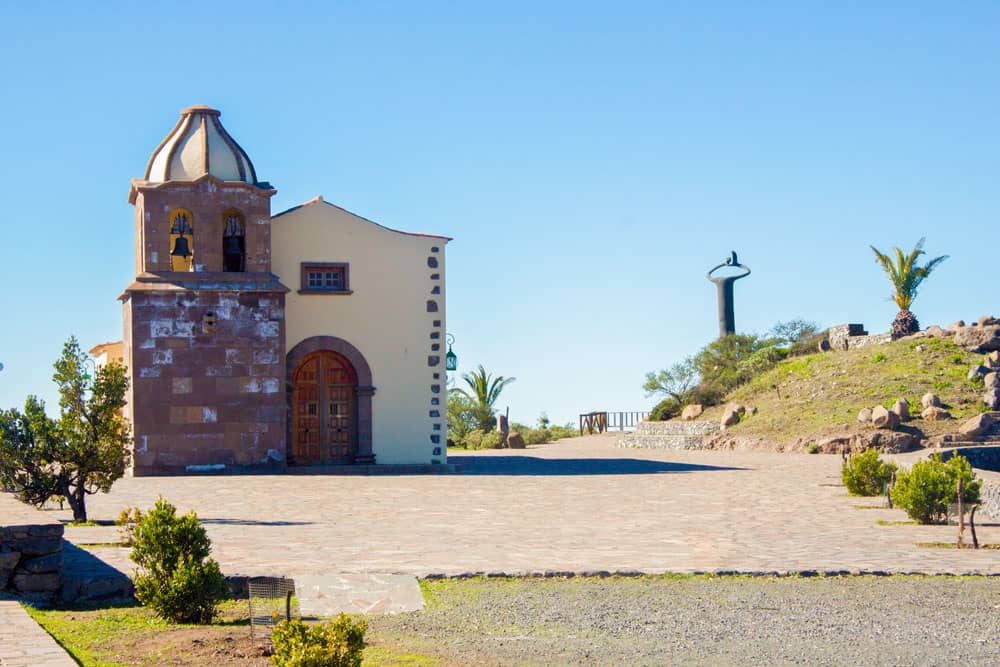
Chapel at the Mirador Igualero
Section from Igualero to the pre summit of Garajonay
You are now about 1330 meters high in Igualero. The further way leads you a little along the main road. You pass a bus stop. If you don’t want to hike up to here and are only interested in the summit plateau of the Garajonay, you can also take the bus to Igualero and climb the Garajonay from here. From the main road in Igualero you can already see a peak with several large antenna masts in front of you. This is the pre summit of Garajonay. You follow a well marked path that leads steeply up to the left of the main road. Originally pine forests stood here. A few years ago, I walked there exclusively through burnt down forest.
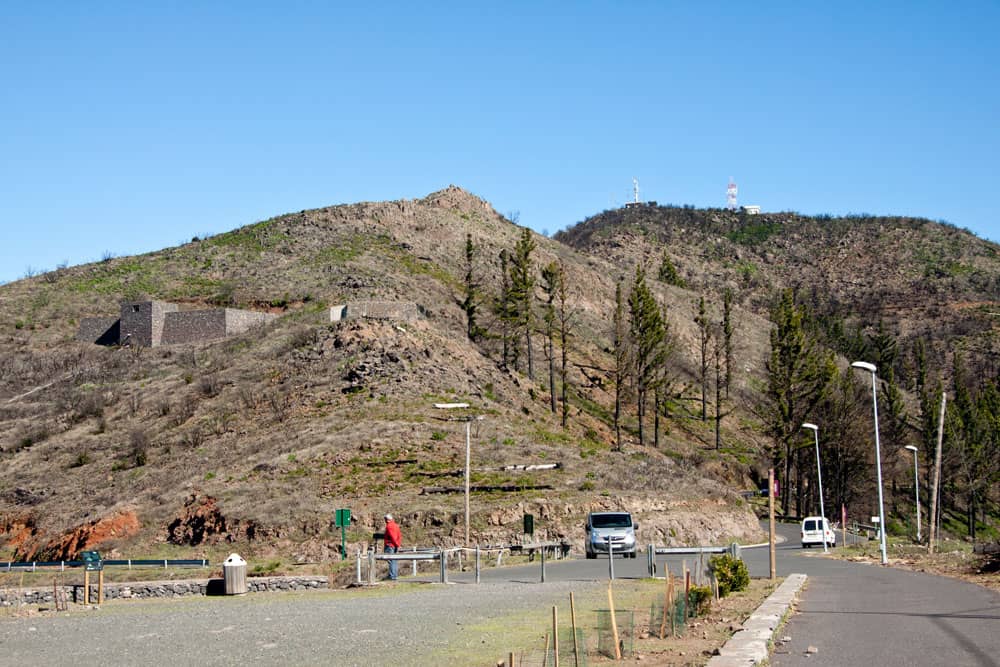
Igualero with view on the pre-summit of Garajonay
A big fire catastrophe in which 20 people lost their lives took place in 1984 in the Garajonay National Park. Another big fire in 2012 affected more than 20% of the entire national park area. The effects are still obvious. On the first mountain ridge behind Igualero, the road climbs steeply in serpentines. But after only 10 minutes you will find a large forest road. From here you can climb up to the pre summit of Garajonay. To the summit you turn left.
Hiking path to the Garajonay
Section pre summit Garajonay up to Garajonay
You hike along the wide forest path in long curves slowly ascending up the mountain. Several paths now come from the left and merge with the forest road. Shortly before the summit, the path from Laguna Grande also climbs up the mountain on the left. Because the most chosen tour to the summit of Garajonay starts at the national park centre in Laguna Grande. From there, hikers can reach the summit of Garajonay in less than two hours without too much effort on a wide extended path. Those who choose this route should not miss to visit the national park centre that offers a lot of interesting information about La Gomera, the national park as also the forest fires and the reforestation.

summit Garajonay
But you continue along the forest road, which soon turns into a wide paved road. After a few turns, the road takes you to the top of Garajonay in a short time. There, at a height of 1487 metres, you have reached the highest point on the island of La Gomera. Now you are on the roof of the island. If the day and the weather are well chosen, the view from up here is magnificent. Tenerife with the Teide, La Palma, El Hierro and also Gran Canaria appear in the distance. Not to forget the fantastic panoramic view over the island area of La Gomera around you.
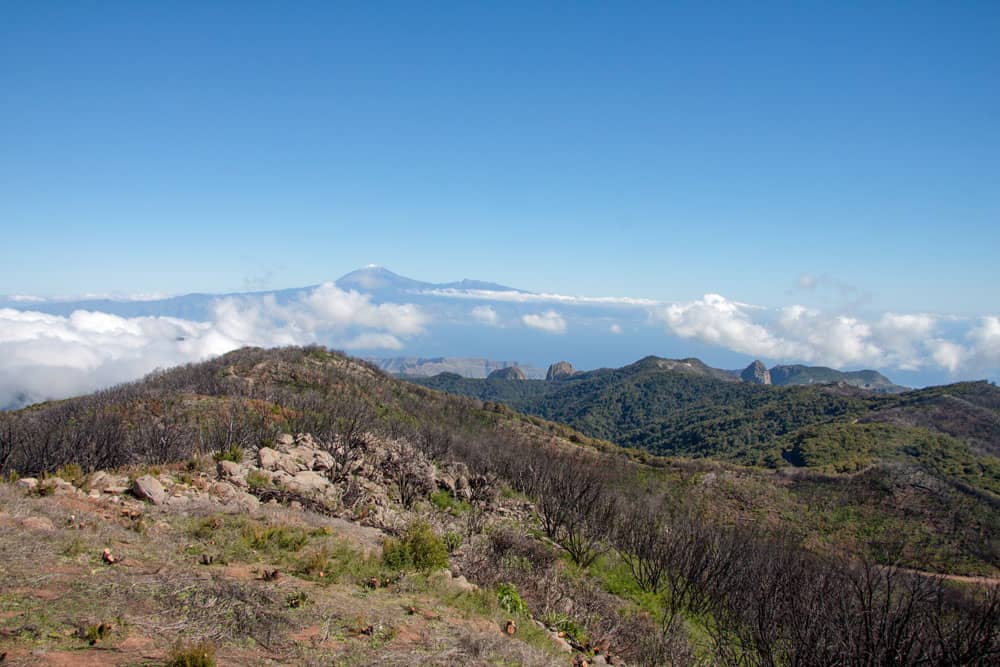
view to the neighbour island of Tenerife
National Park
The 500 hectares of land, which belong to the National Park declared in the 80s, are to be gently restored to their original state with human help. Besides other exotic plant species, the Canarian and Californian pine as well as the eucalyptus have been carefully reforested according to the signs. The motto is: careful and gentle support of nature by humans to promote a natural state. But many plants were destroyed again by the fires in 2012.
the hiking path is crossing a road
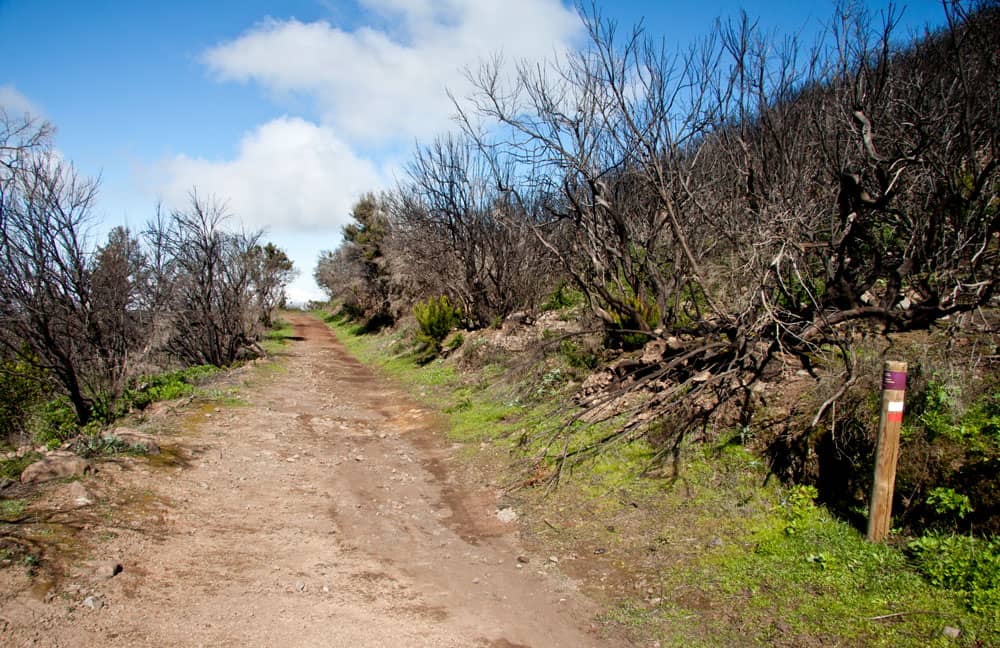
Garajonay to Los Manantiales section
On the wide paved path at the summit we go back again. At the first fork, turn right onto path no. 18. However, do not follow the path down to Laguna Grande, but keep going towards Chipude. The way back is almost exclusively downhill. After the two summit ascents, this feels like an almost leisurely walk. At first, the path leads you further through forest areas where the fire can still be seen. Then the path becomes a little narrower and runs along the slope on the right side of the valley for a while. As you continue, the path is somewhat difficult to walk on in some places, as it slides down in several places and is very stony.
hiking path to Los Mantaliales
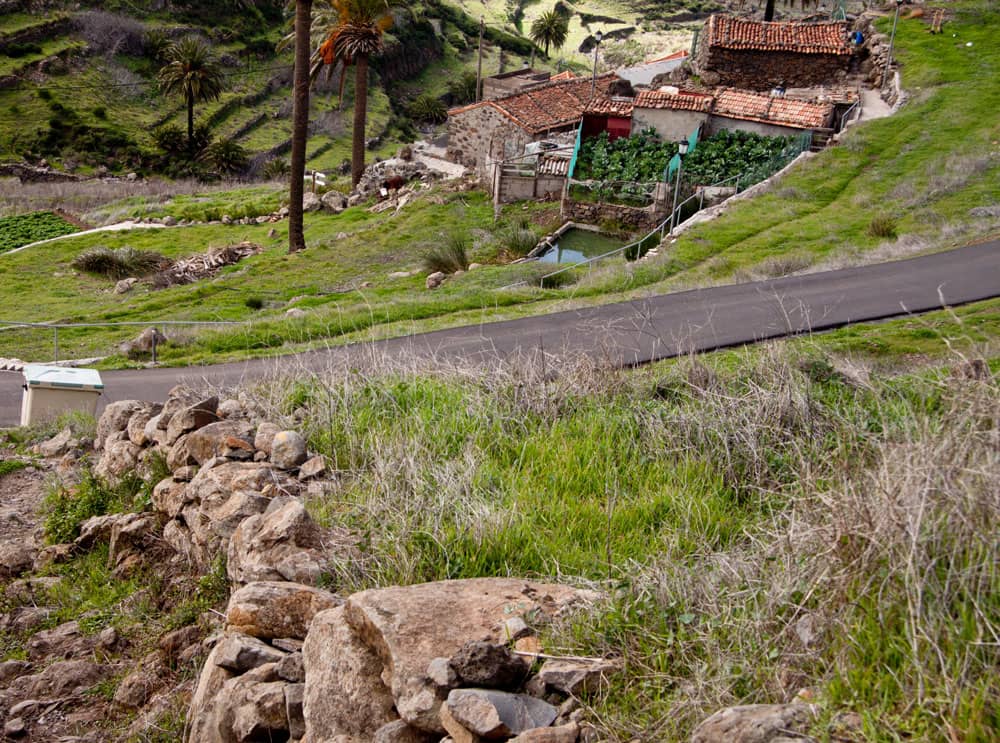
But the impassable passages are always followed by well-developed new sections. From different directions, hiking and driving paths lead into the path. You keep to the right twice and simply follow the good signs in the direction of Chipude. When you reach the green slopes and vineyards of Los Manantiales, you have already lost altitude. At 1100 metres you continue along a newly laid out road on a newly paved footpath. This will lead you through the houses of Los Manantiales, well signposted.
Section Los Manantiales to Chipude
hiking trail through green
Below the village, it goes again steeply on a narrow path down into a green Barranco and on the other side of the valley along the slope up again. After about 10 minutes you reach a ridge height following the path at a fork on the left. From there you can already see Chipude below you again.
You walk down a small path through meadows from the ridge. Then the path leads you through a valley. Then it goes up again along a wall. At the end of the path you reach a paved road. Follow it downhill to the right. After another five minutes you are back on this road in the centre of Chipude.
Camino to Chipude
And finally
I hope you enjoyed this great circular walk on La Gomera, which takes you over two impressive peaks. I wish you much joy while hiking,
Dagmar von SiebenInseln