Guajara ascent over the small village of Vilaflor
Today’s circular walk on the Guajara leads you to the third highest peak of Tenerife. Guajara is the third highest point in Tenerife and the Canary Islands, 2,718 metres behind Pico del Teide and Pico Viejo. Several paths lead to the top of Guajara.
Map

Panorama - hiking path in the Barranco de las Arenas
Today I present a circular walk that starts at Pista Madre del Agua via Vilaflor to Guajara. Another tour that starts at the Parador you will find here. Beside an old observatory, altitude air and fantastic views are guaranteed on this tour. 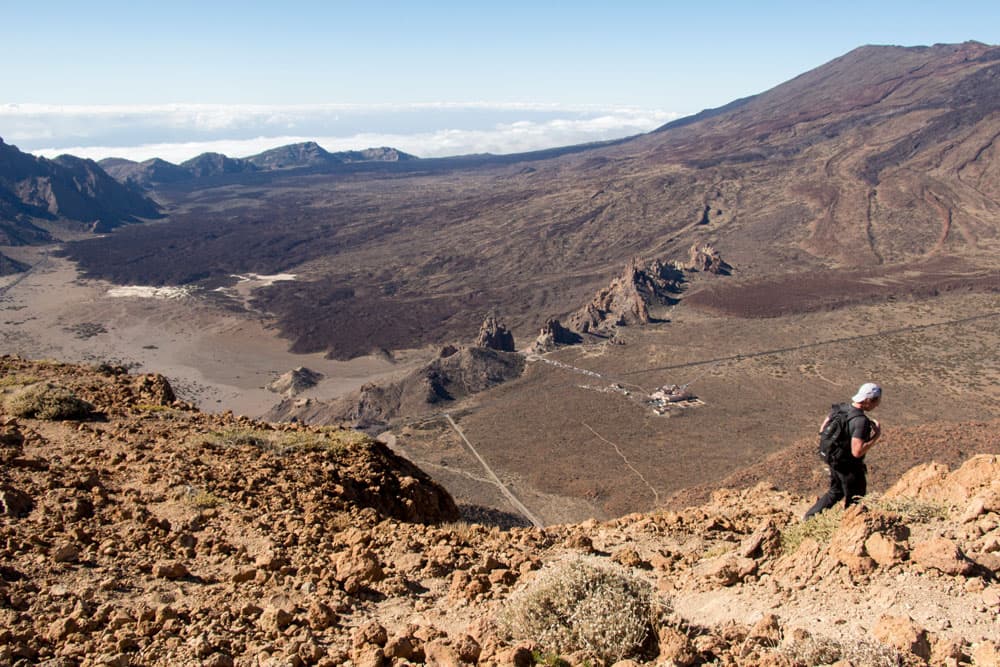
Hiker on top of Guajara above the Caldera
Guajara – the first observatory in the world in the high mountains
When you reach the summit of Guajara, you will find old stone walls. These are the remains of the world’s first high mountain observatory. The first stone walls were built here in 1856 by the Italian Sir Charles Piazzi Smyth. The astronomer did not only research in Egypt, but also in Tenerife. In the summer of 1856 he carried out his star observations on the summit of Guama.
After him this place was again used and extended by the French astronomer Jean Mascart in 1910. Mascart researched the comet Halley. While the first camp of Sir Charles Piazzi Smyth consisted only of a tent and a telescope, Mascart built a permanent hut and a darkroom there in 1910. Because he and his people did research there even in winter with snow and ice on the Guajara. They laid out many paths and a terrace at the summit.
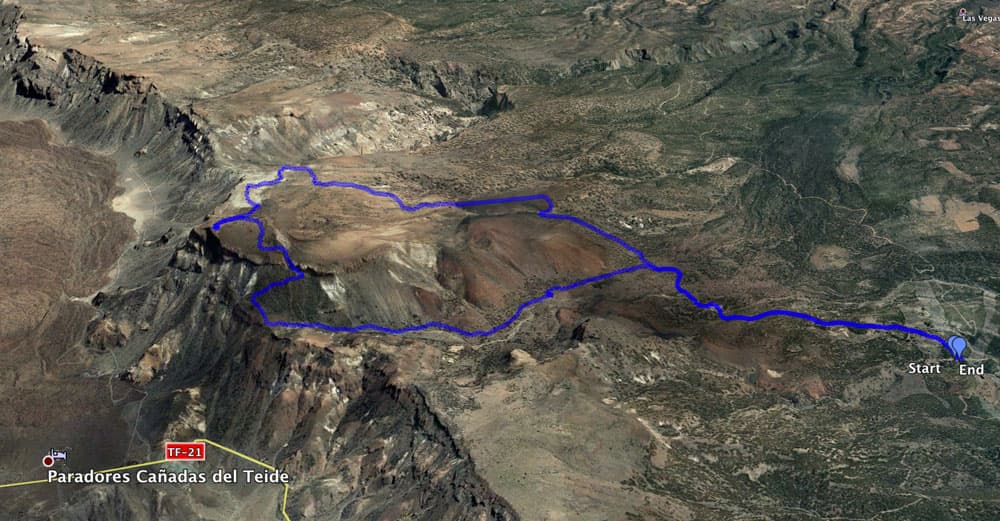
Track circular hike to the top of Guajara
General information about the circular hike on the Guajara
Starting point and approach
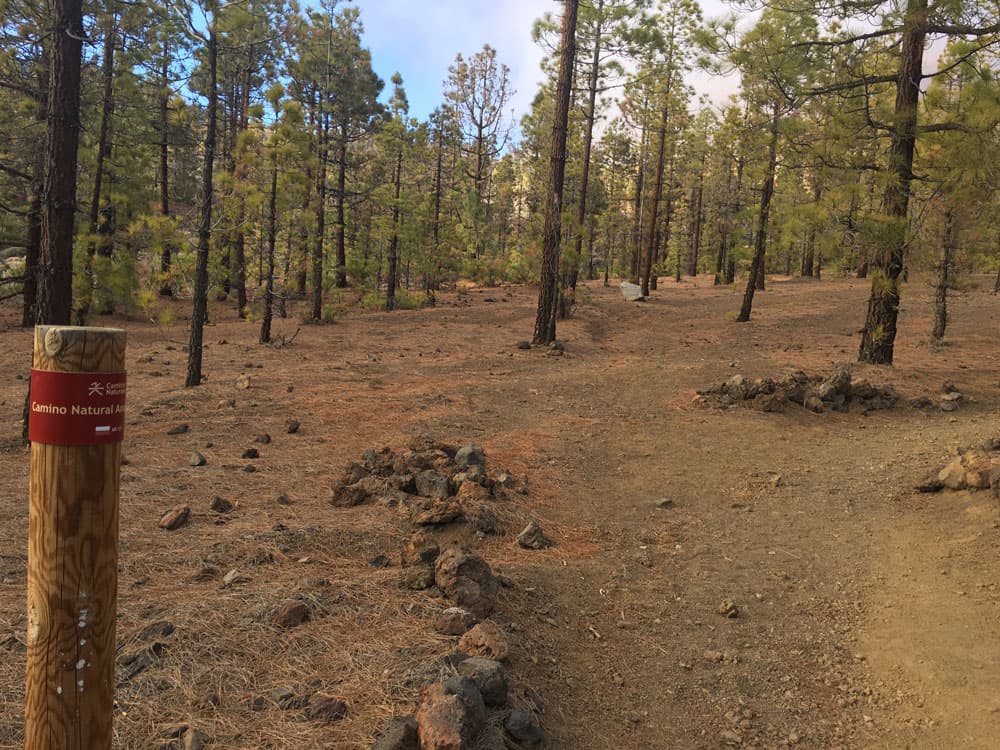
Pista Madre del Agua. This track branches off the TF-21 via Vilaflor at km 66. After about 4 kilometres you reach a kind of hiking crossroads with many signs. At this point you go downhill with the PR-TF 72 to Vilaflor and uphill with the same path to Paisaje Lunar. A wine-red sign indicates the tour to Guajara.
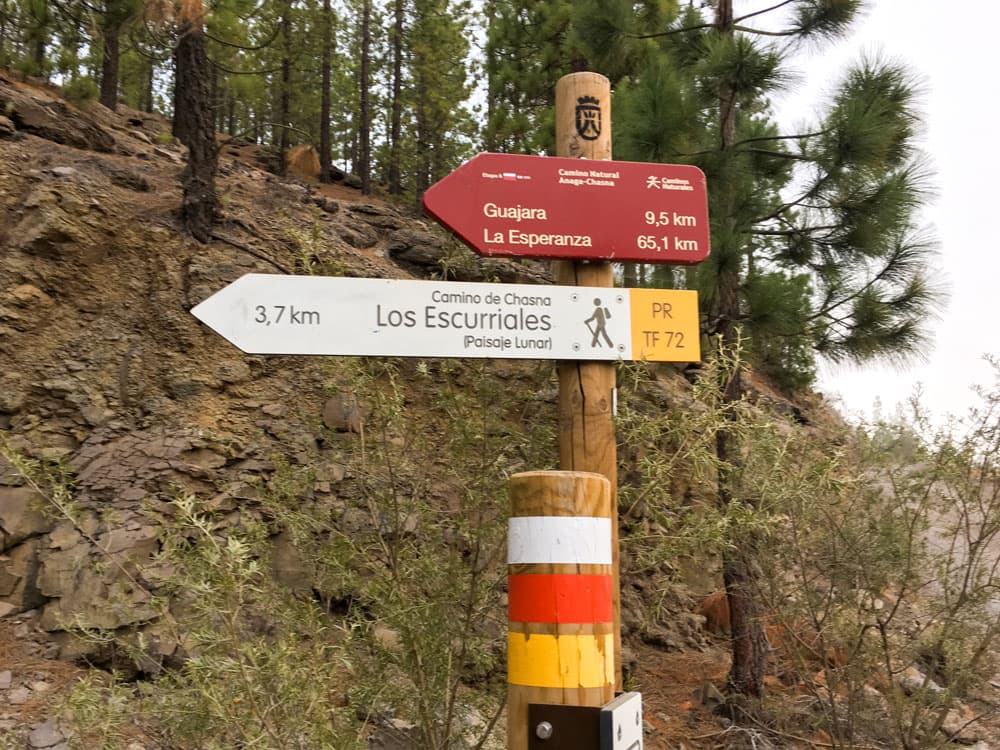
signpost Guajara
Arrival by car
Since no bus stops at the starting point and bus journeys are connected with long additional footpaths, the journey by car is advisable. From the south, take the Los Christianos exit on the TF-1 motorway and continue towards Arona. Then follow the TF-21. After passing through Vilaflor, after a few hairpin bends at km 66, turn right onto Pista Madre del Agua.
From the north, you can take the TF-38 via Teide National Park. At the Boca Tauce junction, turn off towards Vilaflor. Above the town of Vilaflor, turn left at km 66 onto Pista Madre del Agua.
By bus
From Los Christianos there are different bus connections to Vilaflor, which vary between 14 minutes and almost 2 hours. Titsa numbers 342 and 482 take less than an hour to get there. Titsa numbers 474, 411, 416 and 450 take almost 2 hours to get there. Then you can start the hike from Vilaflor and follow the path as described in the hike Paisaje Lunar. This will extend the hike by another 1.5 to 2 hours. Only the Titsa bus number 342, which goes up to the Cañadas, passes the point where the Pista Madre del Agua branches off from the TF-21. From there you will have to travel another 4 kilometres there and an additional 4 kilometres back. Further information on the Titsa Homepage. 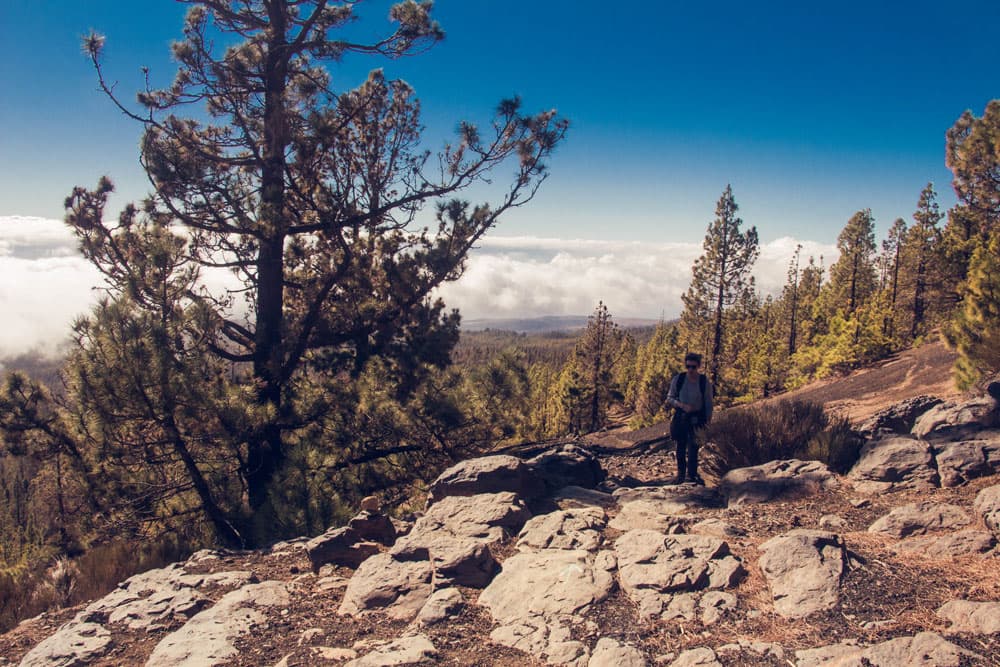
hiking path above the clouds
Time
I don’t like to give general time information for hiking tours, as the times are very individual. Hiking should bring recreation and be fun. And also I need for each tour sometimes more and sometimes a little less time. For this tour with a long stay on the summit I needed about 7 hours.

elevation profile circular hike Guajara
Article summary and large selection of GPS hiking tracks
Sign up for my newsletter now and get exclusive access to my collected GPS tracks as well as all the brief information about my articles.
Sign up nowDifference in altitude and distance
The difference in altitude is about 1.180 meters gross. The distance of the circular hike is 16,5 kilometres long.
Requirement
This hike is very strenuous and requires a good physical condition, no fear of heights and sure-footedness.
Refreshment
Restaurants, bars and shops are only available in Vilaflor. Therefore take enough water and food with you.
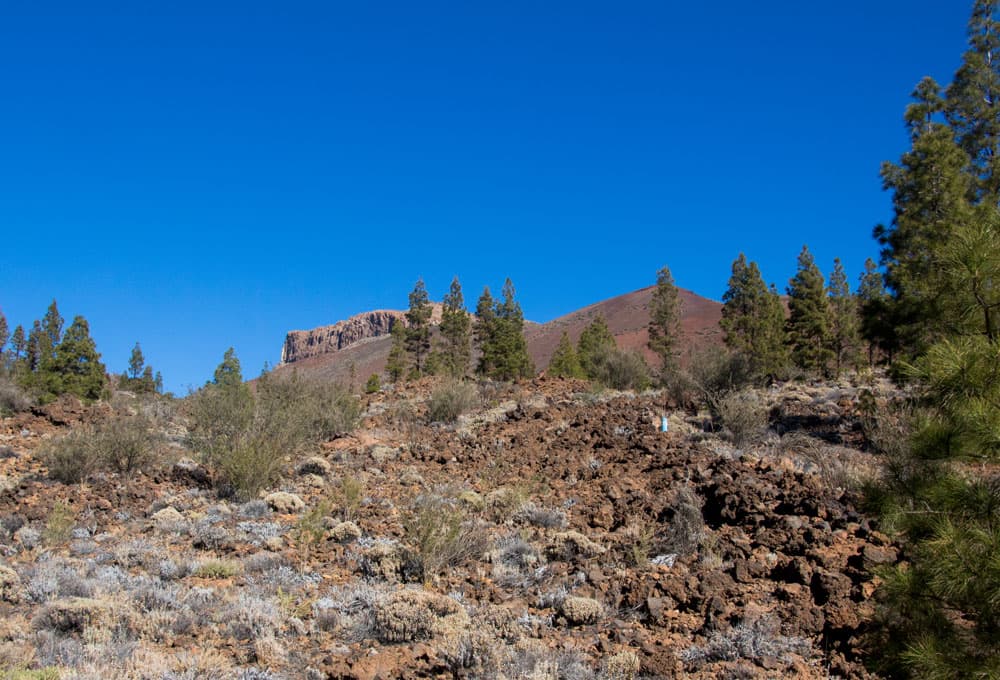
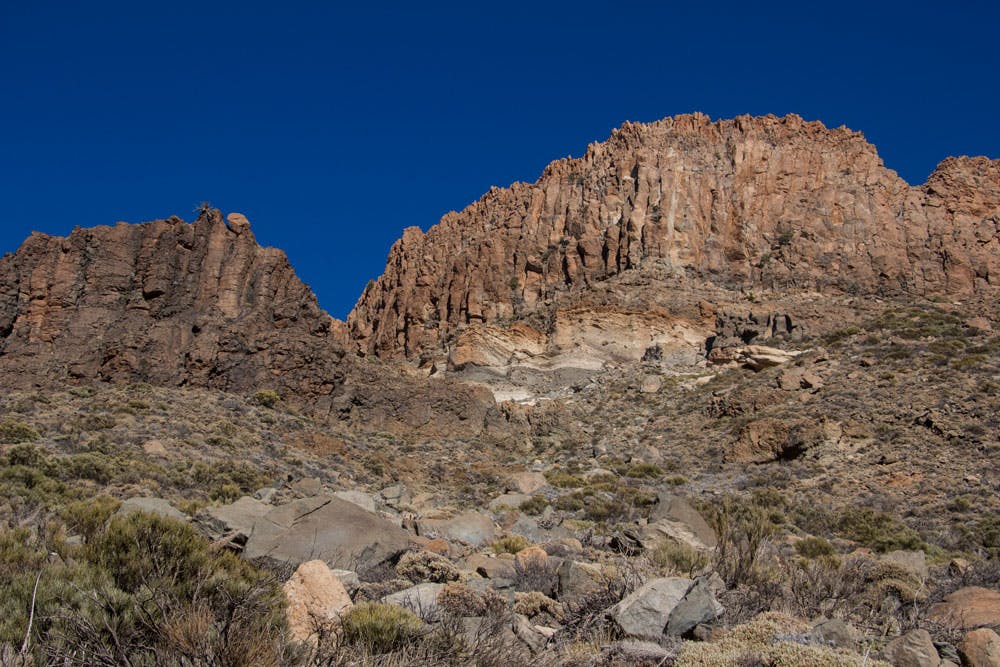
The rugged rock face of Guajara seen from Paisaje Lunar
Variants
This tour can be combined well with various other hiking and circular walks in the vicinity. Worth mentioning is the famous Paisaje Lunar, on which you also do part of this round trip. The hike can also be started in Vilaflor. This extends the tour by about 2 hours. Two other routes to the Guajara summit, which can also be combined as a round tour, lead over the Caldera and the Parador. This variant can also be combined with both parts of this tour for ascent or descent. The ascent to Guajara from Parador is described here.
Caution
Junction Paisaje Lunar - Ucanca Valley: on the white rock is a little cross
If you want to go the round tour described here in the other direction, you need in my opinion either someone who knows the way or a GPS track. Because the branch from Paisaje Lunar into the Ucanca valley is neither marked nor clearly visible. Only a small white rock with a white cross far away from the track marks the turnoff.
Circular walk to the Guajara from the Pista Madre del Agua
Section of the route from the entrance of Paisaje Lunar to Casa Marrubial farmhouse
The entrance to Paisaje Lunar and Guajara are well marked. It goes with the path PR-TF 72 uphill. After a short time the path forks. The Paisaje Lunar leads left or right around 3.6 or 3.7 kilometres. You keep to the left. It goes on wide well recognizable ways from time to time in wide serpentines uphill.
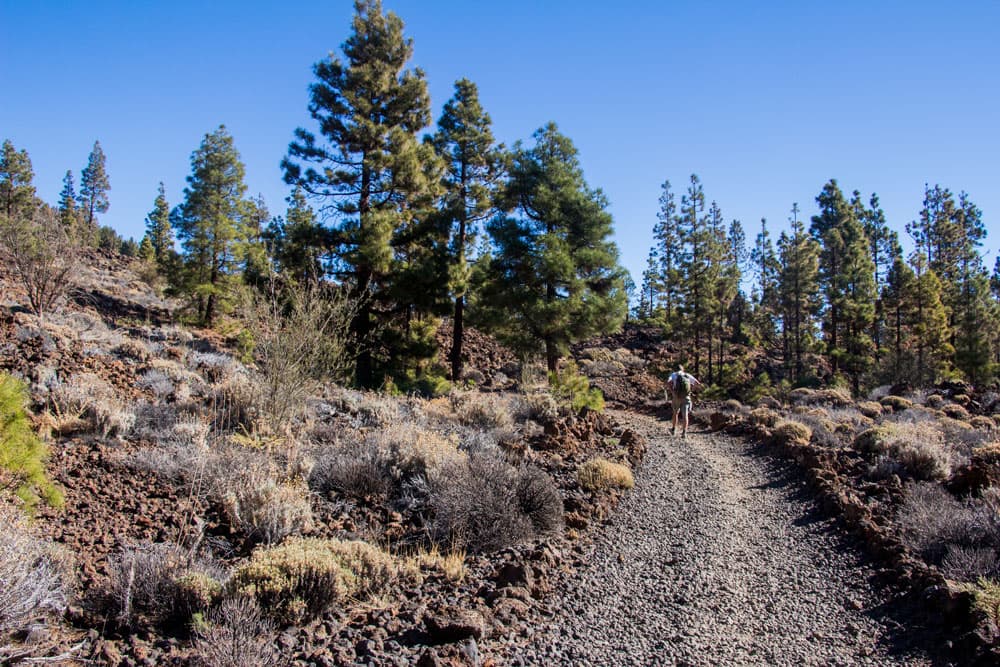
hiking path Paisaje Lunar short before the junction to the Guajara
If you haven’t caught a cloudy day, you can occasionally see the south coast behind you in the distance and the Cañadas mountains in front of you. After a good half an hour you cross a road and go through a barrier on the other side of the road to the further uphill slope. After a short while you will pass ruin houses. On the left is the dilapidated Casa Marrubial.
path up towards Guajara
Follow the road to the fork in the road towards Guajara.
After you have passed the abandoned homestead, the path leads you up the slope to the right. After some time you will see the first „moon landscape“ on the right side in front of you. You pass directly at the foot of a large white rock formation. Along it the path leads you up to the next ridge. Up here you will also find some lava balls (huevos), which you can see even bigger in the Montaña Blanca under the Pico del Teide.
You turn right on the path that continues to rise slowly. Now you can enjoy wonderful views of the Cañadas mountains in front of and above you. The striking rock massif of Guajara is already in sight high above you. After some time you will reach the junction. The hike Paisaje Lunar continues straight ahead. However, you go up to the left and follow the signs to Guajara.
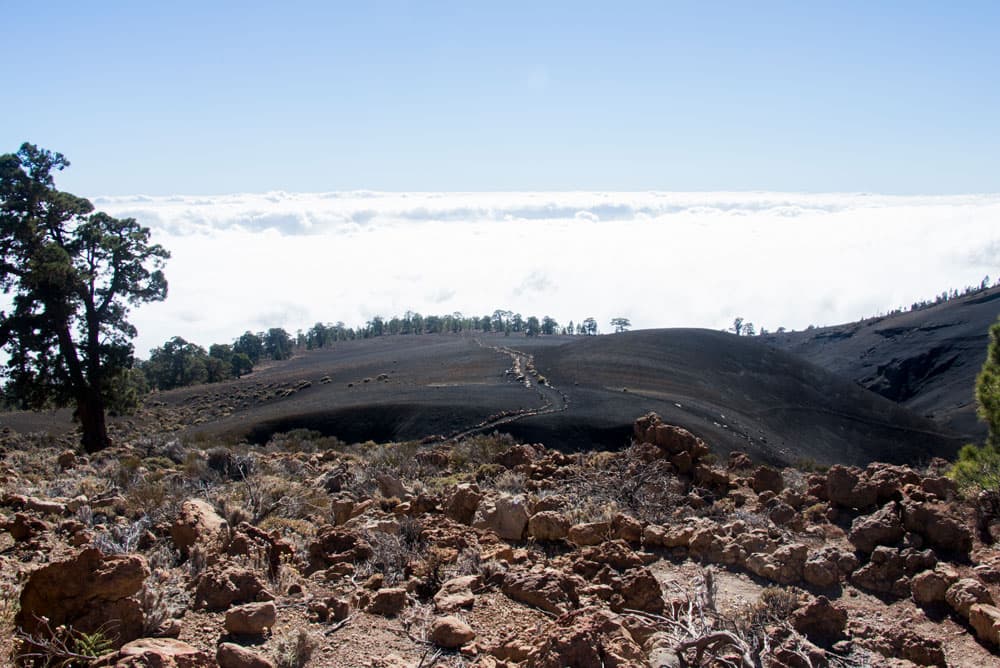
view on the black lunar landscape above the clouds
Follow the road to the fork in the Guajara path to the black sand landscape.
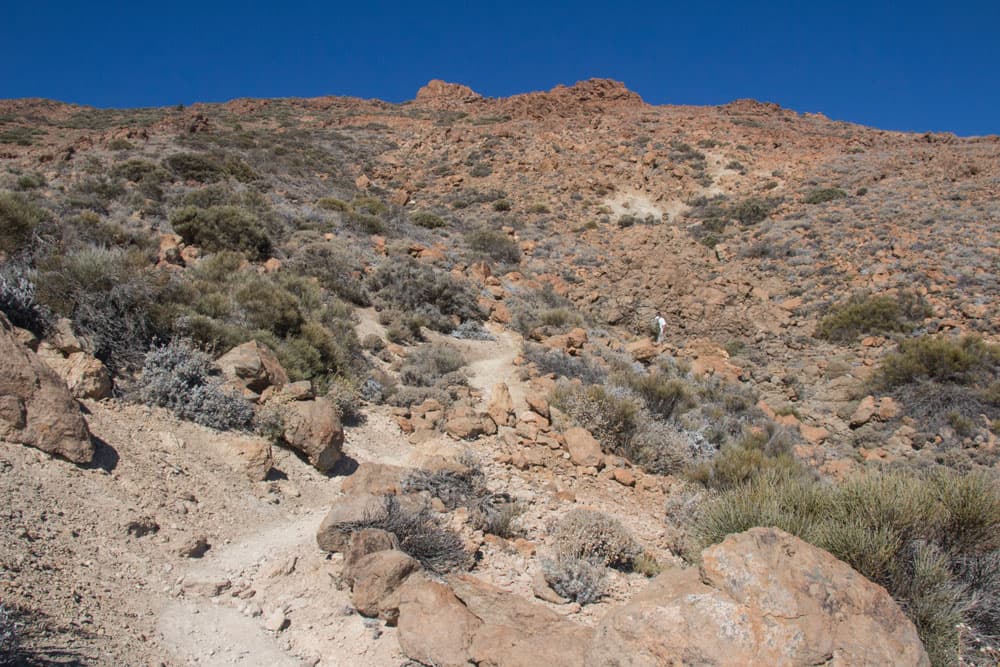
On the small path it goes up steeply. After some time you reach a rock plateau with a wonderful view. From there you can not only see the south coast of Tenerife, but also the white lunar landscapes below you. The path continues to climb slightly on the left side of the slope. After some time you will reach the Barranco de las Arenas. To the right you cross the Barranco Grund and climb up again on the other side.
Article summary and large selection of GPS hiking tracks
Sign up for my newsletter now and get exclusive access to my collected GPS tracks as well as all the brief information about my articles.
Sign up now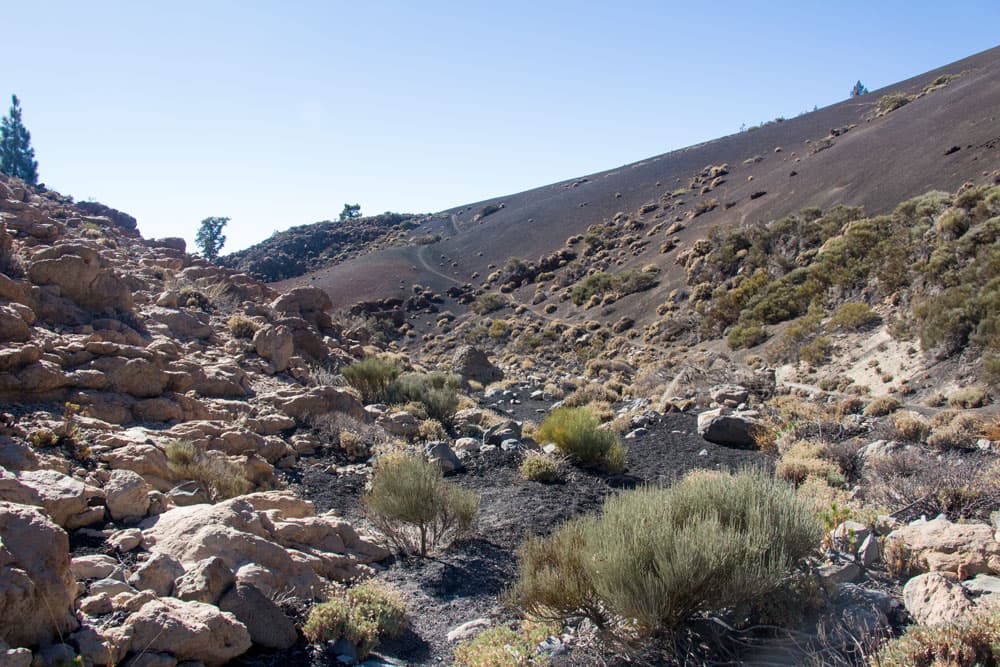
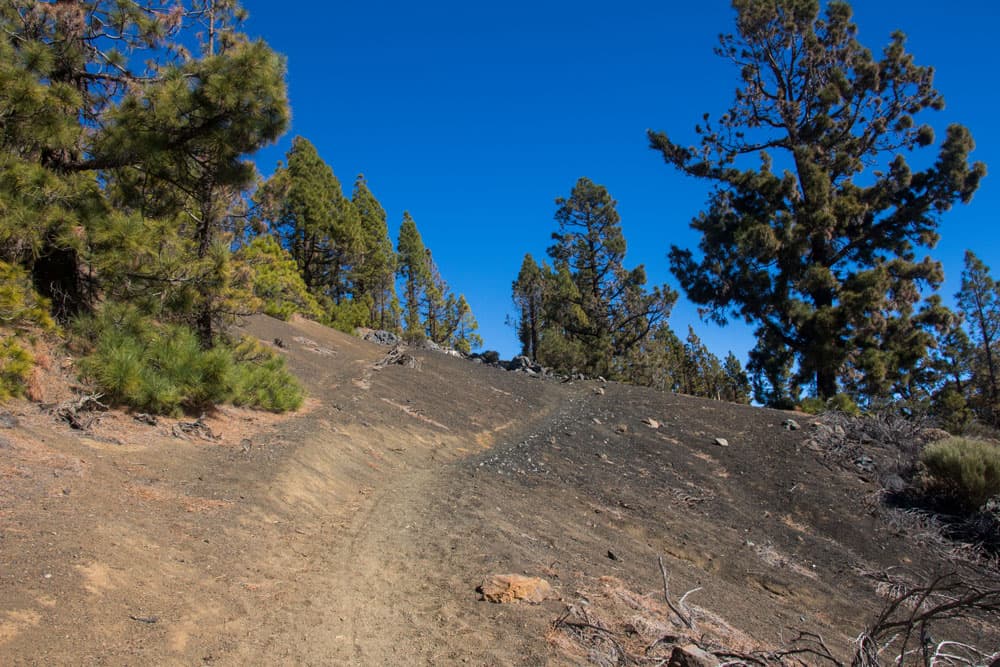
hiking path over black sand
Now there are no white landscapes around you, but the so-called black moon landscapes. You climb up on black sandy slopes. The path forks and you keep to the left. Slowly only single pines stand around you. Past them you will reach a desert-like black sand landscape. The trail continues straight ahead, marked by rows of stones on the sides. Then the path turns left. A long straight line lies in front of you and seems to be endless.
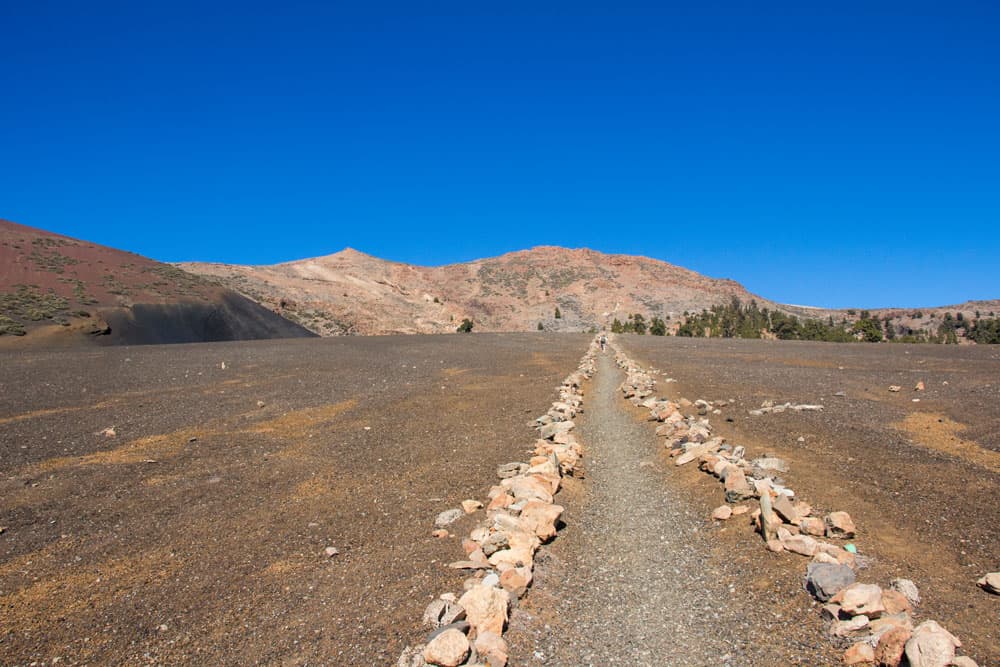
Straight footpath marked with stone rows in a bizarre sandy landscape
Section of black sand landscape to the summit Guajara
But even this long straight line is not really infinite. It ends at a mountain ridge, on which you climb steeper in serpentines. After some time the path flattens out for a short time. It goes in wide arches along the back of the Guajara. The views back and also to the mountains of the Caldera border before you are impressive. The path climbs around the Guajara towards Guajara Degollada and Caldera.
Hiking path to the Guajara
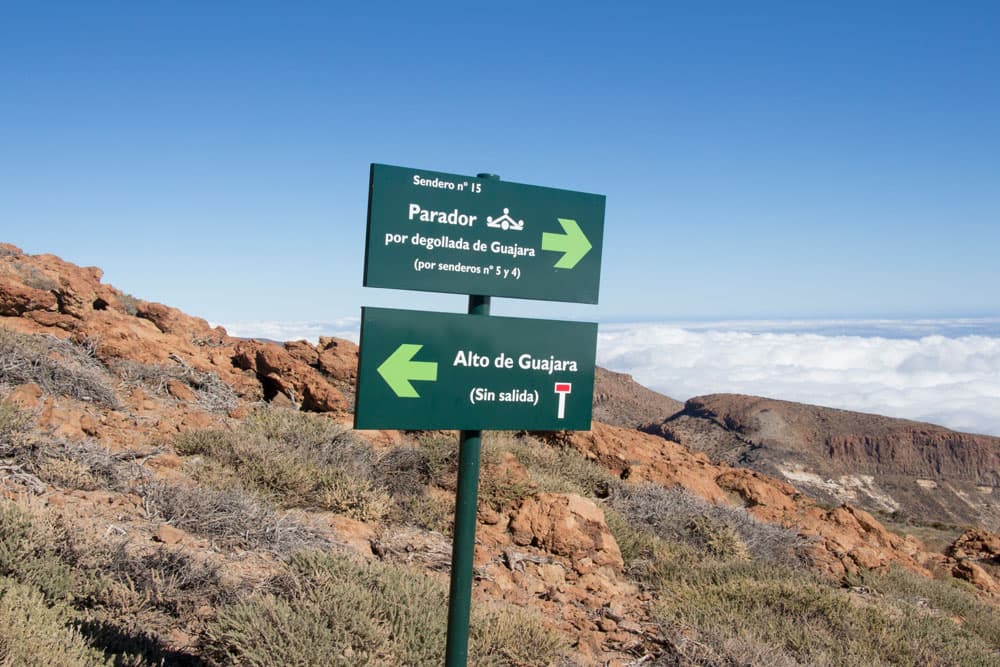
After some time you will cross a small Barranco. You will then see the GR-131 trail on the ridge in front of you, which leads straight down to Parador. Continue uphill along path no. 15, which branches off to the left of the path to Alto de Guajara. For another half an hour, you climb up the slope at the back of the Guajara. You suddenly find yourself standing on old walls at the top of the Guajara.
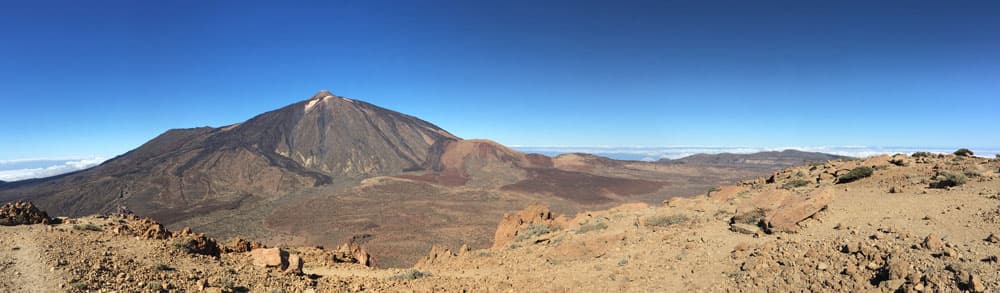
Panorama view from the top of Guajara to Teide
Route section summit Guajara up to the Degollada de Ucanca
The effort of the ascent is rewarded by fantastic views in all directions. Below you the Caldera with the Parador spreads out. And before you lies the mighty Teide. Here at the remains of old stone walls, which were an observatory long ago, a perfect summit rest offers itself. For more details see section 1. Then the way back leads you from Guajara over the Ucanca Pass and the Ucanca Valley down again towards Paisaje Lunar.
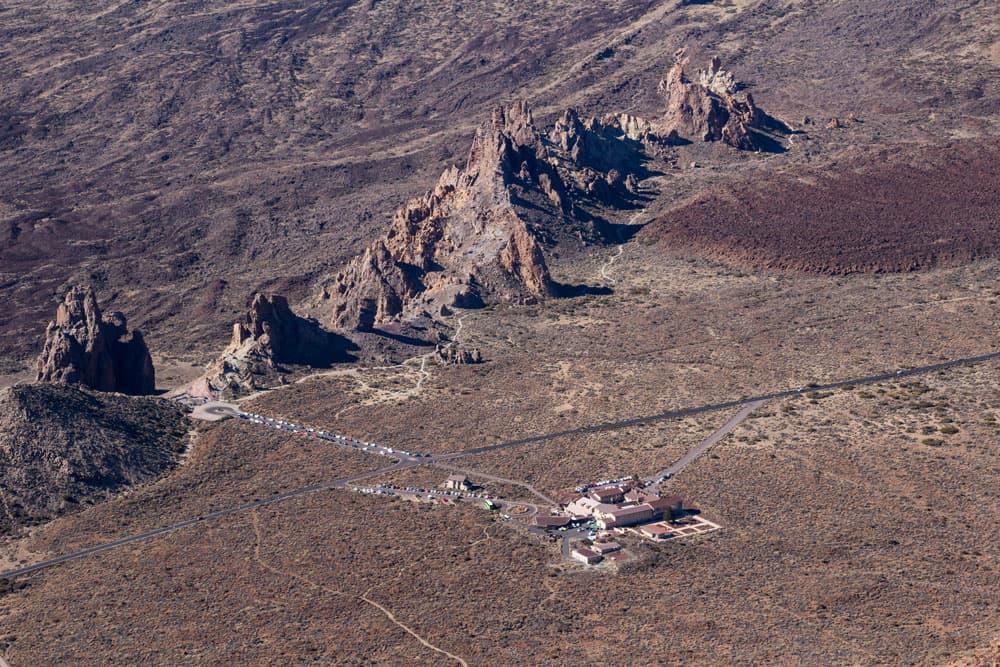
view from the Guajara to the Parador
First you follow for a short time the path no. 15 at the back of the stone walls where you came from. After a short time the path branches off to the right. This first takes you parallel to the Guajara towards the west. Then it goes downhill in narrow steep serpentines. You can get the impression that you are descending towards Caldera and not towards Vilaflor. From time to time there are some airy cross passages on a rock band before the path continues steeply downhill. Here you need to be sure-footed. After this descent you reach the Degollada de Ucanca at an altitude of 2,413 metres.
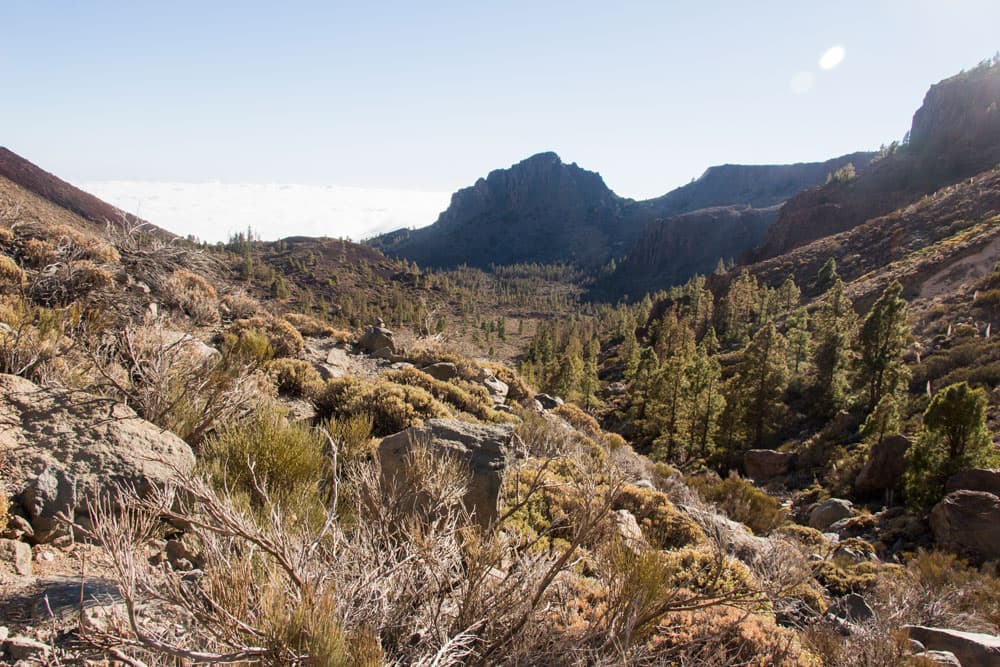
the wild Ucanca valley
Section Degollada de Ucanca up to a water house
From the Degollada de Ucanca you have another beautiful view of the Caldera before you say goodbye to this side of the mountains. To the right down you could go on a path to the Parador. But your circular walk leads you from the saddle to the left down into the Ucanca valley. First you go down on the right side of the valley on serpentines. The path is narrow but never exposed. After some time the path changes to the left side of the valley.
Sometimes the path is overgrown and not always easy to find. But you can’t get lost, because the course of the valley gives you the way. If you should hike here in May, you will discover the big red Taginasts everywhere in the Ucanca valley. The further down you go, the more pines you will see around you. You pass a small water house.
junction to the top of Guajara
Section water house up to the junction Paisaje Lunar/Weg Valle Ucanca
From the water house the path leads you along the water channel, which you also cross once. Afterwards it goes uphill for a short time. On the left side you cross a small rock massif. Then the forest path widens and leads you further through the valley and down through the forest. The rugged rock face of the Guajara is now already far behind and above you. Between rocks and pines the path leads downhill. Then, at a small rock marked x, you reach the circular path of Paisaje Lunar again.
On the way there you have continued to the left. Now it goes around to the right. If you do the walk in this direction, there will be no problems finding the way. If you want to go the round trip in the other direction and climb through the Ucanca valley, it may be difficult to find the way at this point. The branch to the Ucanca Valley is not marked with a sign. I didn’t even recognize a path on the way there. And the small x on the rock is hardly to be seen. Therefore, make sure you get the GPS track for this variant!
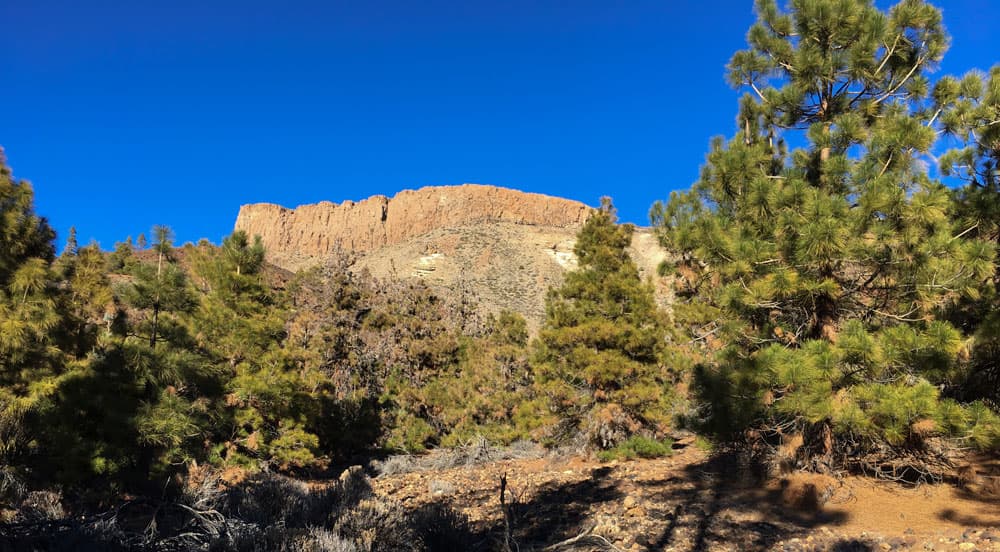
the rock face of the Guajara
Section of the road junction Paisaje Lunar/Weg Valle Ucanca up to the entrance Paisaje Lunar
Once you are back on the Paisaje Lunar circular trail, you will return to the entrance at Pista Madre del Agua on the same trail. If you still haven’t had enough, you can of course turn left at this junction and walk the entire round of Paisaje Lunar. This way you also land at the starting point again.
And finally
There are many ways on the Guajara. I personally like this beautiful round trip very much because it runs parallel to Paisaje Lunar for quite a while. And also the Ucanca valley is an interesting place that still seems wild and almost untouched. Further variants for the ascent of the Guajara can be found here. Whatever you decide, I wish you a lot of fun while hiking. Dagmar von SiebenInseln